Welcome to Part 5 in this series of guides on how to integrate Gmail with Angular and Spring Boot.
And in this one, you'll actually get to see some results!
Well, hopefully.
Chances are pretty good that something will go wrong. And you'll have to update your code or your configuration on Google Cloud Platform.
The good news is that the error messages are usually fairly descriptive. Just use your favorite search engine to find out how to resolve the issue.
Anyhoo, this guide will walk you through the happy path.
Or you can go straight to the code.
Picking up Where We Left Off
Thus far, you have:
- Created an OAuth2 client ID and secret on Google Cloud Console
- Enabled the Gmail API via Google Cloud Console
- Set the necessary properties in your Spring Boot application.properties file
- Set up a DataStore implementation with its associated factory
- Set up a refresh listener
- Created a utility class that handles the Google authorization code flow
- Set up proper Gmail consent with the Google Cloud Platform
- Created a controller that handles a request to get the Google authorization code flow URL
And if you haven't done those things, I suggest you take a peek at Part 1 and work forward from there.
What You'll Get out of This
In this part of the series, you will:
- Use Postman to get the authorization code flow URL
- Use that URL to authorize your application to access your Gmail inbox
And that's going to do it for this one.
Going Postal
Start by firing up Postman.
Then, fire up two (2) Spring Boot applications.
The first one is the one you'll use to get the JWT for accessing the email service. The second one is the email service itself.
If you don't already have those applications, you can get them from GitHub.
Start by grabbing ecosystem-user-service. Be sure to check the README on how to configure it.
Then, launch that baby by running UserApplication.
And if you don't already have ecosystem-email-service, grab that one next and launch it with EmailApplication.
If you've followed the default configurations, the user service is listening on port 32010 and the email service is listening on port 32050.
Now go to Postman to get the JWT from user service. You'll need that JWT to access the email service.

In the screenshot above, I'm POSTing to the URL localhost:32010/authenticate. That happens to be the endpoint for logging in to the application with a username and password.
The username and password, by the way, are specified in a JSON object in the body of the Postman request. You can see the format above. You'll have to enter whatever credentials work for you system.
Once you do that and click the Send button, you should get a response that looks like this:
{
   "token":"eyJhbGcxxxddddddddddddddddddddddddddlLcUdIGKdCWl25Tr7AGa3h9udhwByQ7HOWTVorKlPVSw",
   "user":{
      "id":"6014081e221e1b534a8aa432",
      "firstName":"Milton",
      "lastName":"Jones",
      "street1":"123 Main St.",
      "street2":null,
      "city":"Detroit",
      "state":"MI",
      "zip":"36555",
      "email":"joe@xyzmail.com",
      "phoneNumber":"474-555-1212",
      "username":"milton",
      "country":"United States"
   },
   "expirationDate":1616857249000
}
That "token" property is what you're looking for.
Now create a new Postman request to visit the email service. This time you're going to create a GET request that looks like this:

This time there's no body. It's a GET request, after all.
But make a note of the URL:
http://localhost:32050/email/authorizationCode?redirectUrl=http://localhost:4200Everything up to the question mark is the endpoint you'll hit on email service. That endpoint gets handled by the controller class you created in Part 4.
The redirectUrl request parameter is also important. That's where Google will send your users once the authorization code flow process has completed. It's just dummied up for now but later you'll need something "real" in there.
BUT... you can't just click Send at that point. You need to include the Bearer token.
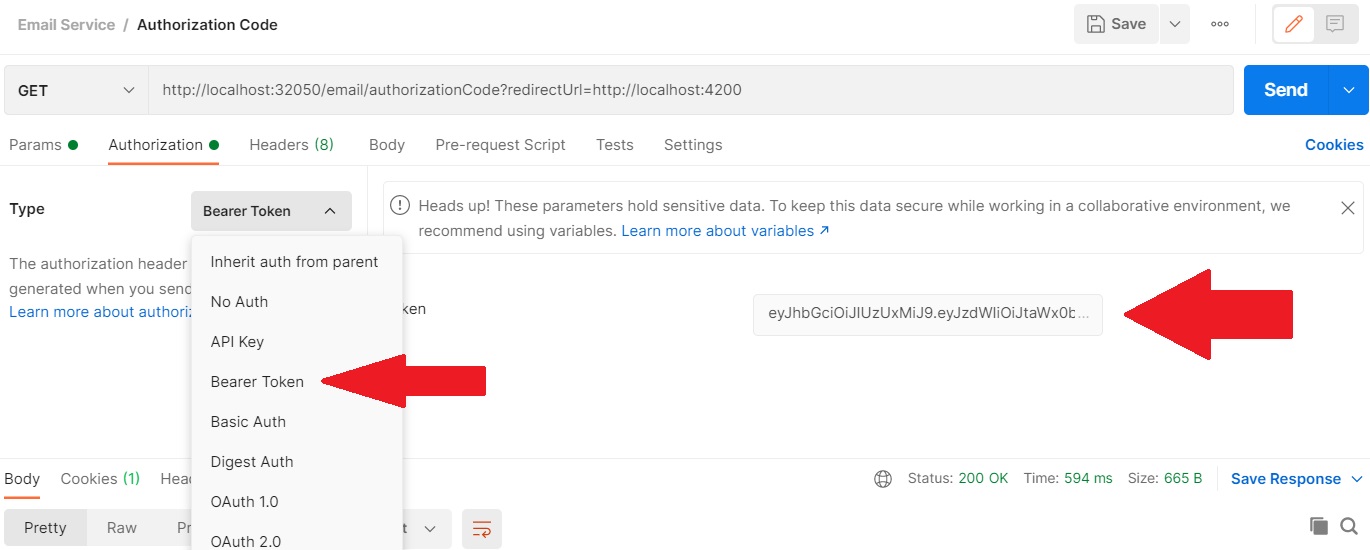
So click that Authorization tab you see above. On the new tab that appears, select Bearer Token from the dropdown on the left. Then, copy and paste the value of the token field from the previous request into that text field you see on the right-hand side of the screen.
And now, at long last, you can finally test out your code by clicking that Send button.
And you should get back something that looks like this:
https://accounts.google.com/o/oauth2/auth?access_type=offline&client_id=514444444447-ddddddddddddddd7ii6hlf.apps.googleusercontent.com&redirect_uri=http://localhost:4200&response_type=code&scope=https://mail.google.com/And that, my friend, is your Google authorization code flow URL.
Congratulations. You have made a huge leap forward in this process.
Well... Go Visit That URL
Now copy that URL out of Postman and paste it into your favorite browser.
And when you do that, you should see something like this:
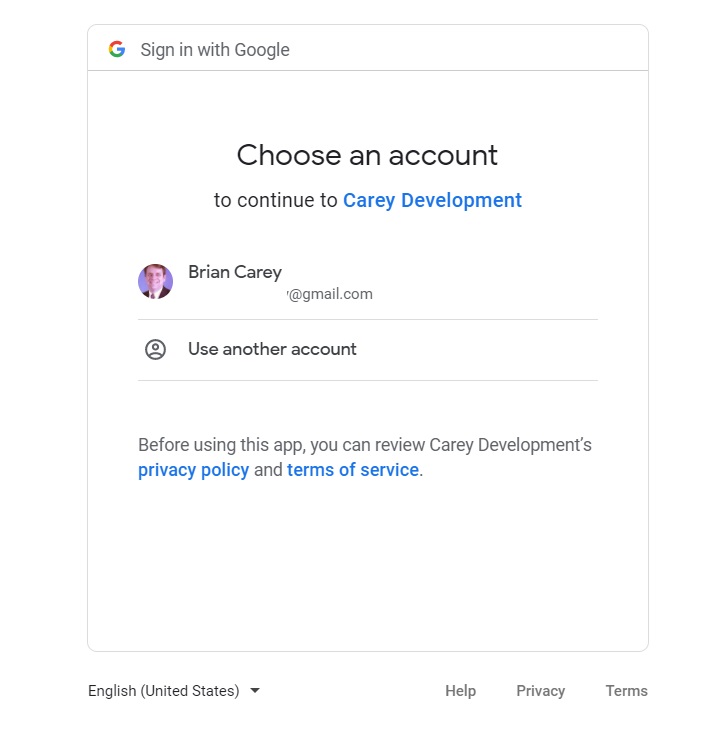
Now you're cookin' with gas!
Go ahead and select the Google account you want to use.
Next, you'll see this ominous looking screen:
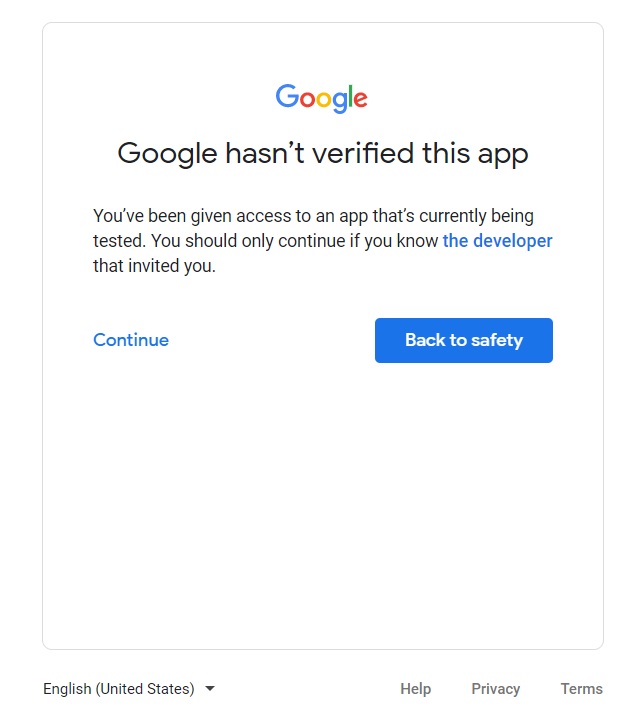
When you finally go to production, you'll need to get your app verified by Google. But for now, you can live with this "unverified" warning.
Click Continue. Then you should see this:
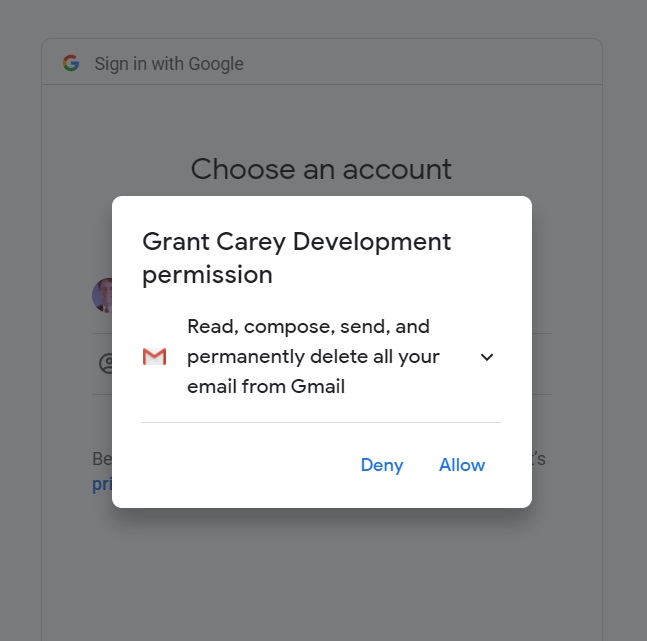
Yep. That's what you want.
Click Allow.
And then Google, just to make absolutely certain that you know what you're doing, will give you this screen:
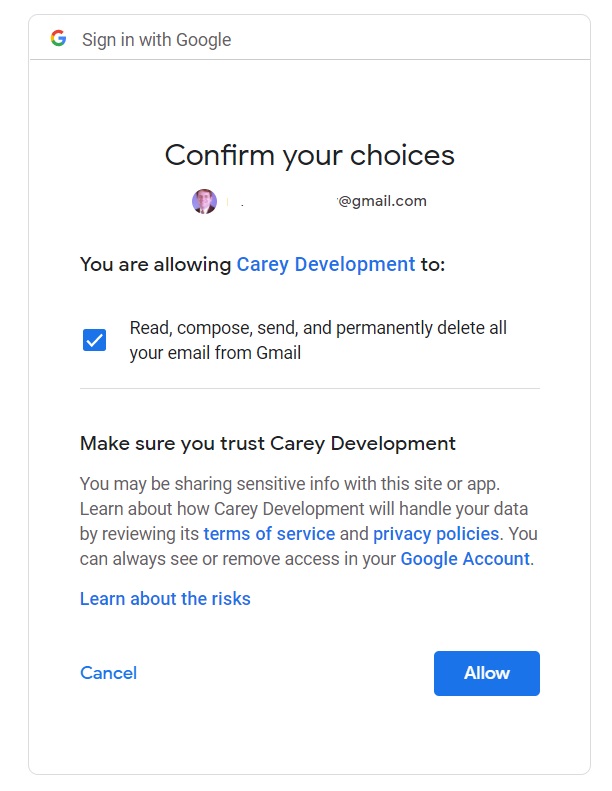
Yep. That's what you want to see.
Go ahead and smash that Allow button.
And then you'll get:
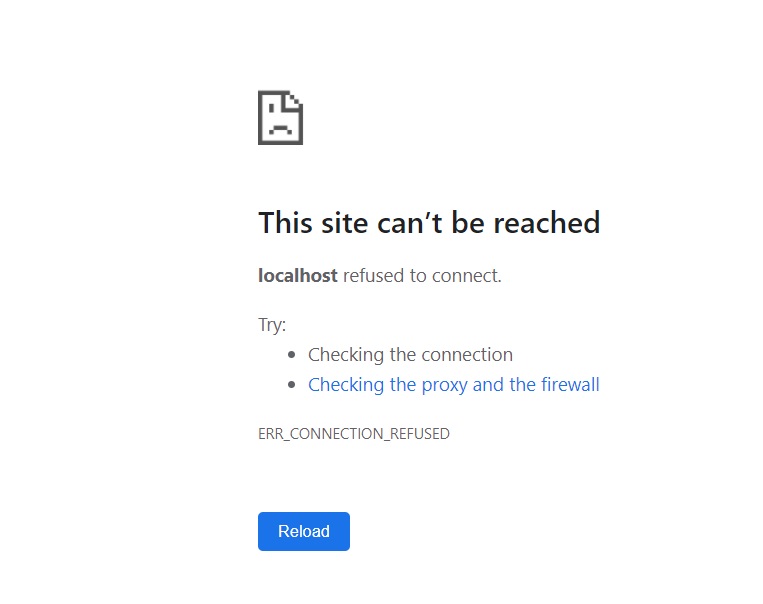
Agh! It messed up!
Nope. It didn't mess up.
Let me explain what happened here: you put in a dummy redirect URL. If you've followed this guide, the dummy URL is http://localhost:4200.
Now unless you've got something listening on port 4200, that's the expected behavior. So it's working.
But what do you do now?
All the magic is in the URL itself. Go take a look at that URL in your browser. You'll probably see something like this:
http://localhost:4200/?code=4/0AY0e-g5WD-ddddddddOF1KwS5vsjQ&scope=https://mail.google.com/Yep. That's what you're looking for.
Pay particular attention to that code request parameter. That's your meal ticket to get an OAuth2 access token from Google.
And I'll show you how to do that in the next guide.
Wrapping It Up
Hope you had fun. You're making some great progress.
Remember: in the (likely) event that everything didn't go according to plan, feel free to search for solutions. There are so many things that can go wrong with this flow that I couldn't possible cover all of them.
In fact, I haven't even experienced all of them.
So you'll probably have to do some of your own homework.
But at least you know the pattern.
Have fun!
Photo by Pavel Danilyuk from Pexels


